Woodwork is a very common work around the world and even if you live in a country where houses aren’t built with wood panels, you need wood for your kitchen, floors, ceilings, and other stuff. The drawing or detailed plan that provides an idea to the contractor about what his client wants and expects from him is called a woodworking plan.
Types of Woodworking Plans:
- Woodworking plan for small projects
- Woodworking plan for commercial projects
- Woodworking plan for house interior decoration
- Woodworking plan for wooden house construction
- Woodworking plans for DIY projects
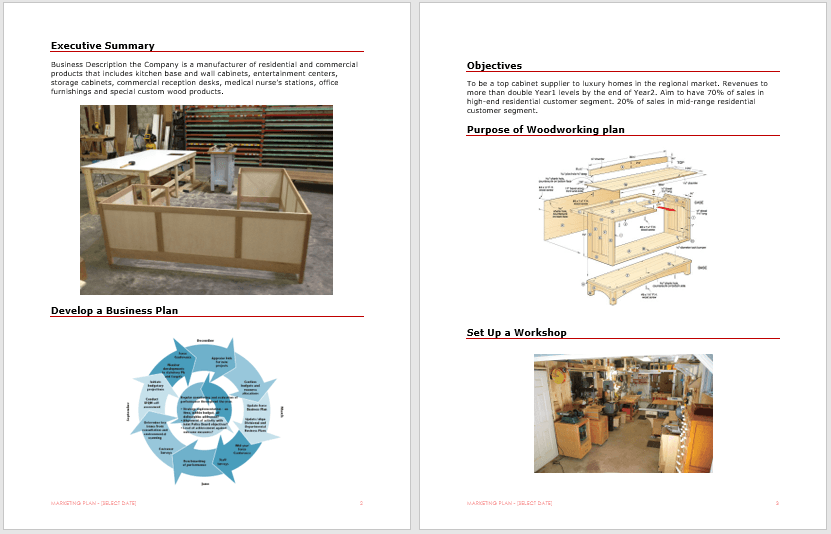
Elements of a Woodworking Plan:
Usually, it depends on each woodworking plan which elements will be included in the woodworking plan. For example, if the plan is for house interior decoration, it will include floor sheets and wooden panels for floor finishing whereas if it is for the whole house construction, it includes wooden lengths to construct the main frame of the house. Most of the time the woodworking plan includes:
- Name of the plan
- Type of construction
- Type of wood used in the plan
- Wood specification (i.e. type, measurements, lengths, toughness, and finishing)
- Bonding material needed (i.e. glue, nails, screws, etc)
- A detailed blueprint of the construction plan
- Details about the finishing of the wood plan
How to create a Woodworking Plan?
It depends on each type of construction plan that what kind of wood you want to use in the construction and what kind of project it is. If it is a commercial project, you need to hire carpenters who will tell you about the specification of the project where on the other hand, if you just want to do a project for your child’s school assignment, it is very easy to create a plan.
- Define the type of the Woodworking Plan:
This is the first step in order to create a woodworking plan for you or for someone else. This includes the type of project that is going to take place so that the contractor knows what he is doing and what type of labor or material he needs for the project. - Arrange for Drawings of the Project (i.e. blueprint):
Then it is time to see the actual drawing or layout of the project on paper. This way the contractor can easily see what he is going to build and what will be the expectations of the client from him. This way he can also enlist all the required tools, wood panels, and other necessary items for the project. - Enlist the Materials Necessary for the Project:
Once the project type is established, it is time to enlist all the necessary items that are important for the project. For example, the type of wood, number of wooden panels and lengths, glue packs, nails, nail guns, screws, finishing varnish, and most importantly, the number of carpenters necessary for the project. - Talk about the Starting and Finishing Timeline of the Project:
At this step, the contractor defines the starting time of the project and gives a rough idea about how much time it will take to complete the job.
Here is a preview of a Free Printable Woodworking Plan Template created using MS Word,

Here is the download link for this Woodworking Plan Template,